Add your domain
Campaigns can only be sent from an address on a domain you own and have verified.
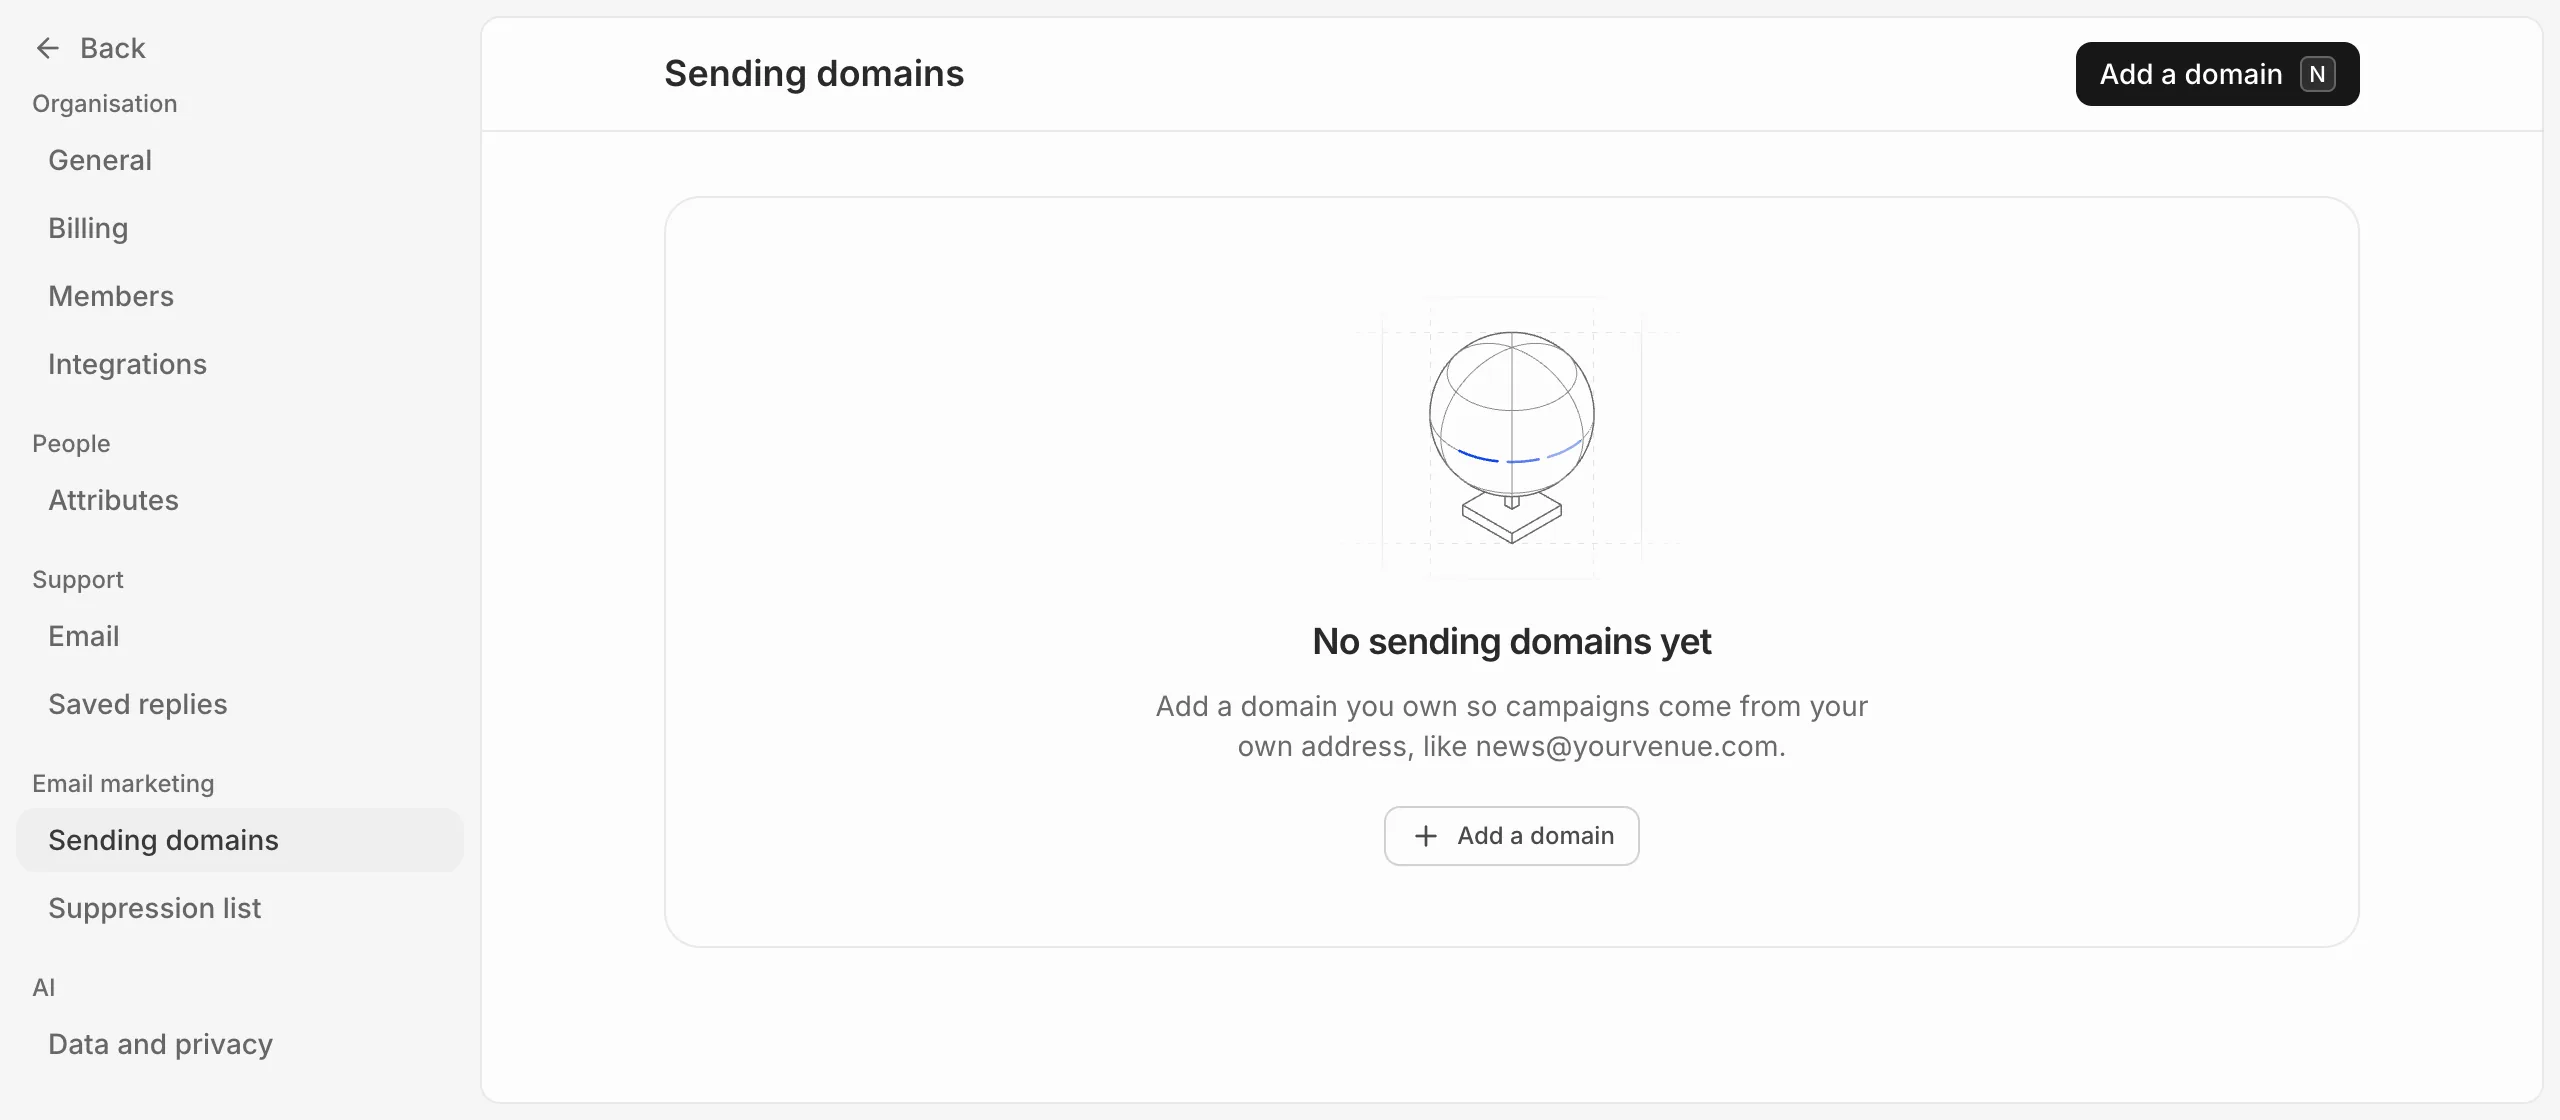
- Go to Settings, then Sending domains, and press Add a domain.
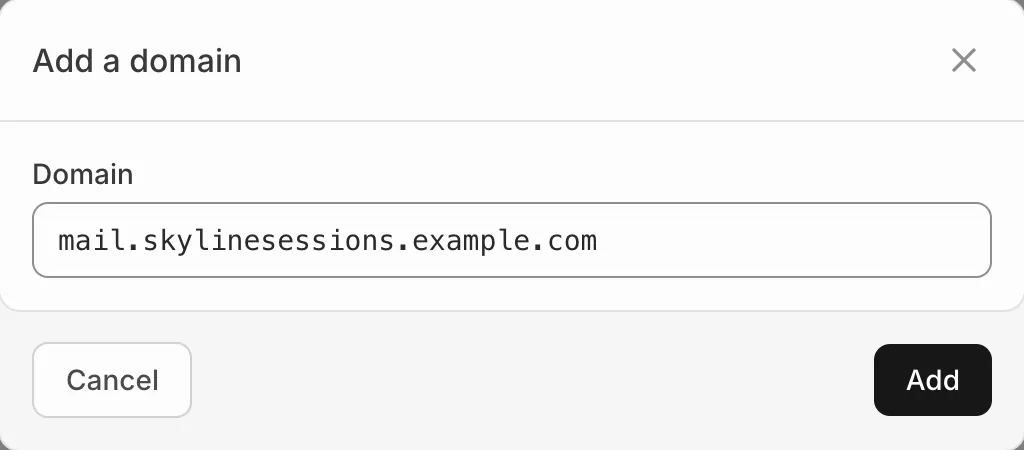
- Enter the domain you send from, such as
mail.yourvenue.com, and press Add.
Add the DNS records
Eventdash then lists the DNS records to add where your domain’s DNS is managed: often your domain registrar, or a service like Cloudflare. Each has a Type, a Host and a Value, with a button to copy each one.
Copy the host and value exactly. The record marked Optional is a DMARC record, which tells inboxes what to do with mail that fails the checks. Skip it if your domain already has one.
Wait for it to verify
The domain shows Waiting for DNS until its records are found, and each record turns from Not found yet to Found. Eventdash checks every few minutes, or you can press Check now. Once it shows Verified, campaigns can be sent from any address on it.
A domain marked Paused can’t send. Get in touch and we’ll find out why.
Disconnect a domain
Press Disconnect beside it. Campaigns can’t be sent from it any more, and one scheduled from it goes back to being a draft.