Pick a metric
- On a dashboard, press Add metric.
- Type in Search metrics, or move through the list with the arrow keys. The highlighted metric draws itself on the right with your own figures.
- Press Add to dashboard, or ↵.
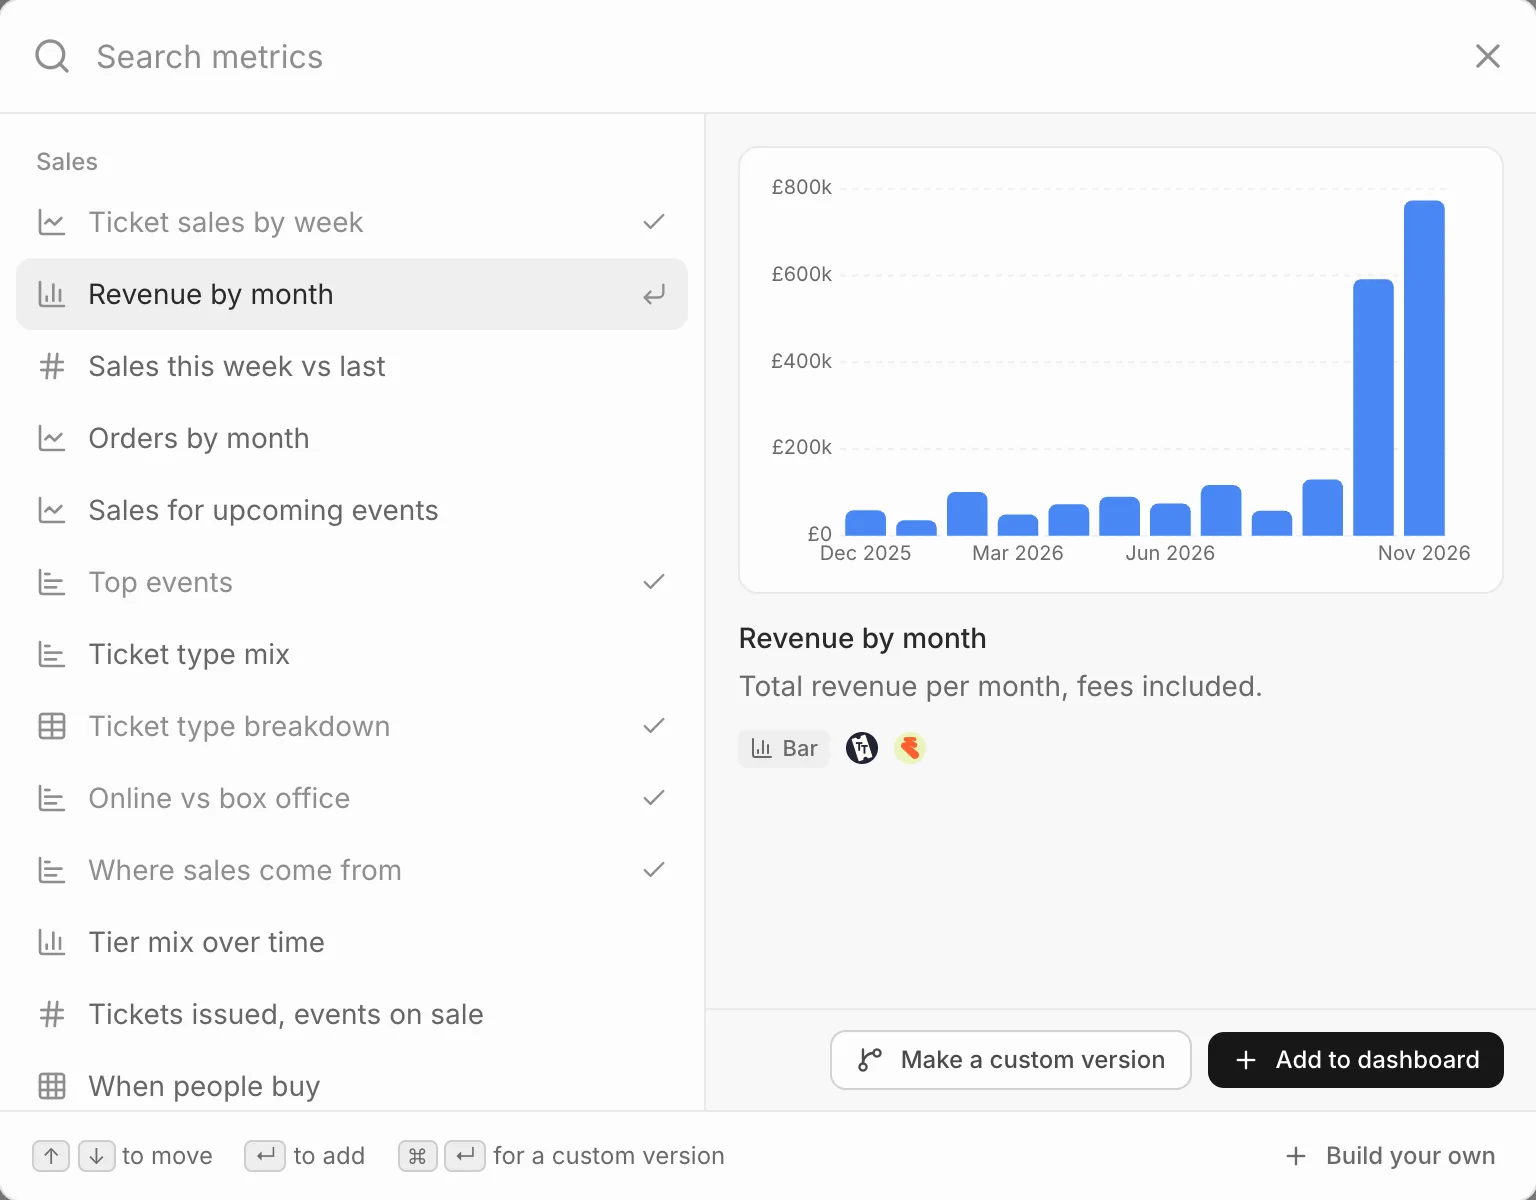
A tick marks the metrics already on this dashboard. The icons under the preview show which ticketing platforms supply the figures, and the library only lists metrics your connected platforms can answer.
Library metrics are kept up to date by Eventdash: if we improve how one is counted, every dashboard and report using it changes with it.
Change a library metric
Highlight it and press Make a custom version, or ⌘ ↵ (Ctrl ↵ on Windows). It opens in the builder as a starting point; saving makes a new metric and leaves the library one as it is.
Your custom metrics
Metrics your team has saved to the library are listed first, under Your custom metrics, with how many dashboards and reports use each one. Highlight one to Edit or Delete it.
Editing or deleting a custom metric changes or removes it everywhere it’s used.